Updated tutorial with pictures!
I?m very pleased to post below my updated tutorial to reshape your Fedora. It has been almost ten years since the time I first posted this guide, and since my first attempt to reshape my Dorfman Pacific hat (
http://www.dorfman-pacific.com/brand/Indiana Jones®) and it still looks absolutely smashing. The reason why I wrote this tutorial originally is that I was SO VERY disappointed when I unwrapped the envelope and realised that the Dorfman Pacific hat, despite the nice Indiana Jones pin on the ribbon, didn?t look nearly as nice as Indy?s hat.
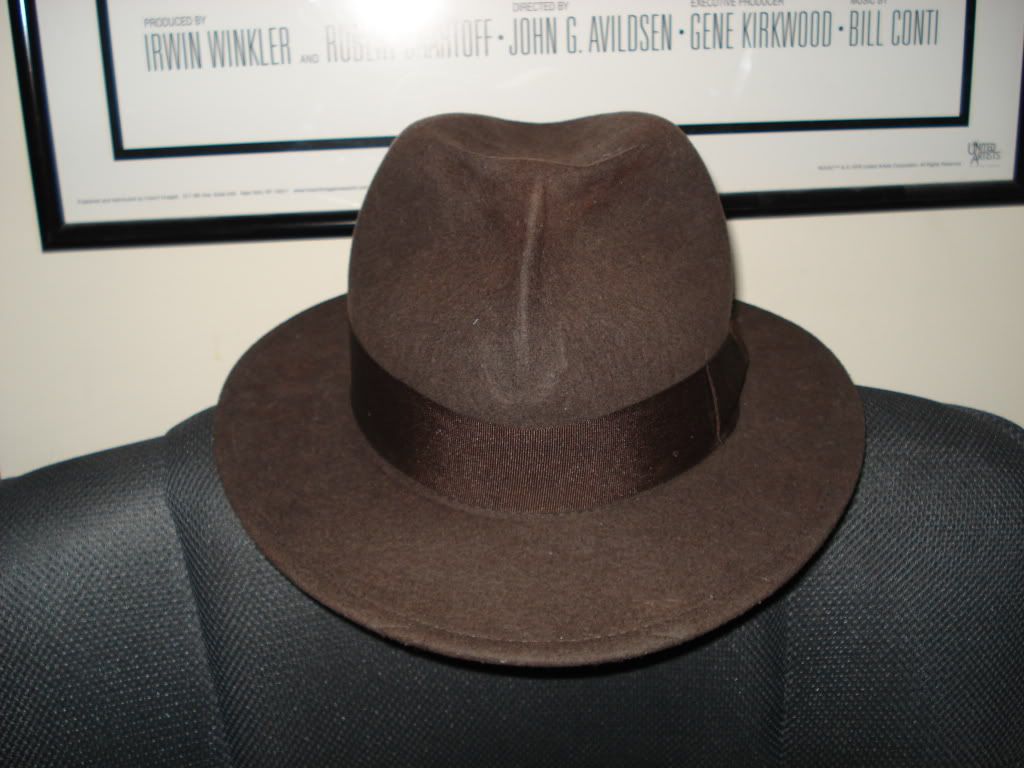
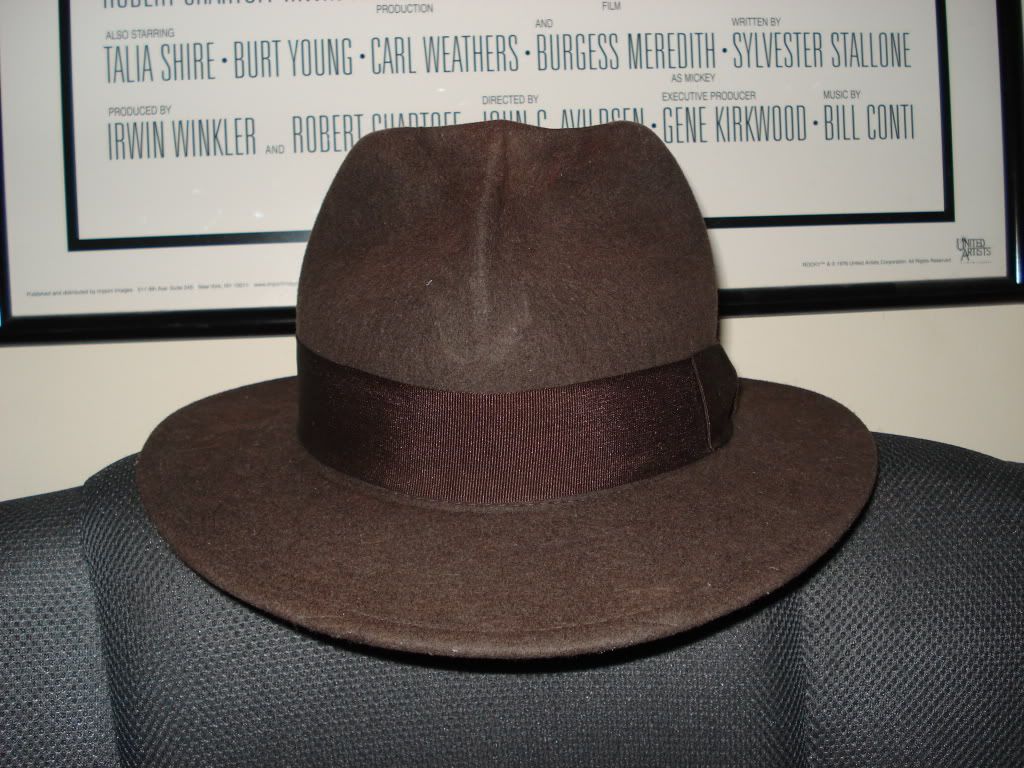
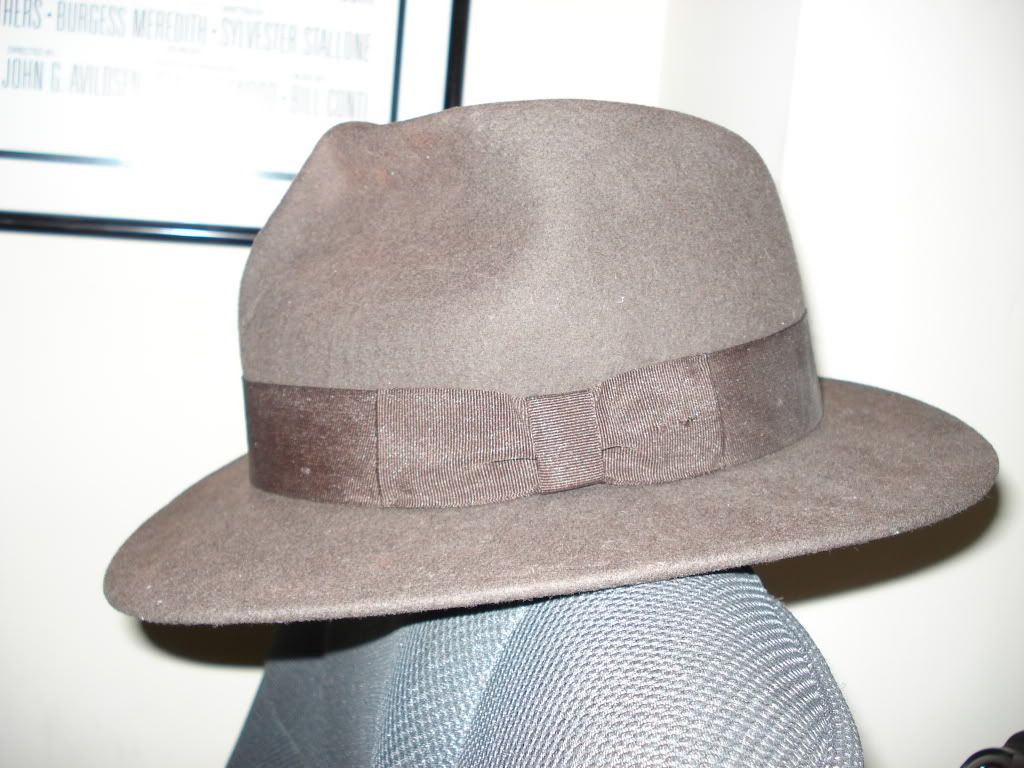
Honestly, I can say in hindsight that the final result does not resemble exactly Indy?s hat from Raiders of the Lost Ark, but rather his glorious hat from Last Crusade or perhaps from Temple of Doom.
")
You be the judge, but I really love my hat as it looks now, it kept its shape perfectly and I'm still wearing it after such a long time. And I?m sure you?re going to love your hat too once you reshape it! Now I?ll cut the chatter and provide you, as promised, with the new tutorial with pictures (these are stored in dropbox so you won't see the image below unfortunately, so you'll have to open the link, but at least they are safely stored there).
Use this tutorial at your own risk! I take no responsibility for any issues you may encounter.
NB: in case the pegs leave some undesired marks/scratches, I WARMLY suggest that you use BVance?s method (check the posts above).
Preliminary info: to modify your hat you need no special skills or experience, you just have to be very careful and follow the instructions step by step since, once you've reshaped it, it is NOT possible to restore its former aspect.
WHAT DO YOU NEED: a Fedora, a pair of clothespins, water (ideally it?s best to spray it over your hat rather than doing what I did in the pictures below), a plastic bag or a cloth to protect your hat once you apply the clothespins.
PART 1: Heightening the crown
The first thing you should do is to put your hand inside the hat and push all out, as shown in the picture below.
https://www.dropbox.com/s/1d4wu0yybgmbqwm/IMG_2849.JPG?dl=0
PART 2: Reshaping the hat
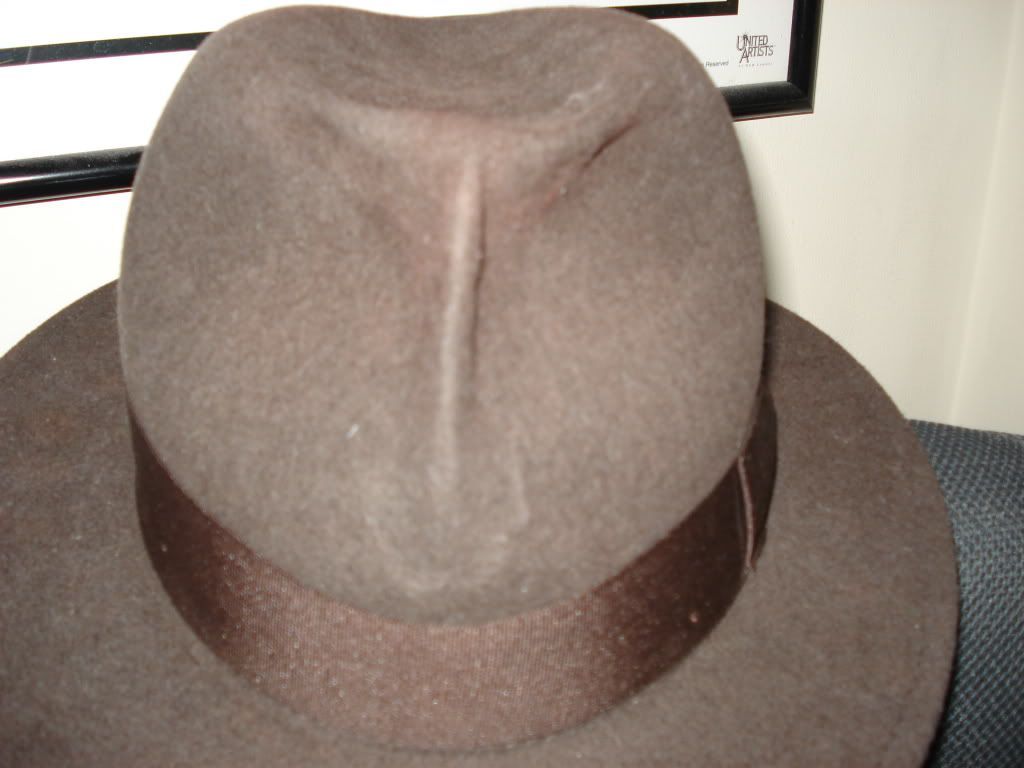
Now you should gently squeeze the front side of your hat with your hands in the centre, in order to make it tighter and give it a more Indy-style look. Try to find the centre precisely and be as accurate as you can. Repeat this operation several times until it starts to look tighter.
PART 3: Fixing the new shape
As you may have sadly noticed, despite your efforts the hat doesn't seem to be keep its new form very, but worry not! It?s now time to fix it for good. So?
- Wet the central side of your hat (or rather spray it with water, I didn?t think about it when I first try but that?s definitely the best way to proceed). If you spill some water around don?t worry: this is not going to affect the final result.
https://www.dropbox.com/s/w9g7rmansjxx238/picture-2.jpg?dl=0
- Once that side is wet, before you use your pins, cover it with plastic bag to cover or a cloth. This will prevent your hat from being damaged by the pins? pressure. Place then the clothespins right in the centre and at the top of your hat (as shown in the pictures below).
https://www.dropbox.com/s/n86wizfalc7l4xt/picture-3.2.jpg?dl=0
https://www.dropbox.com/s/qxhe98urpcppeid/picture-3.jpg?dl=0
- What you need to do now is to simply wait until your hat gets dry (let it dry naturally for 6/7 hours; do not place it close to the heating, just give it some time to get dry). If the result does not look perfect yet, repeat the aforementioned operations until you get the perfect Indy shape for your Fedora!
https://www.dropbox.com/s/ugn5bex90gj7tkr/IMG_2778.JPG?dl=0
That?s it folks! I hope you find this new tutorial useful. Feel free to post your comments and pics of your results below