inky_skin
Active member
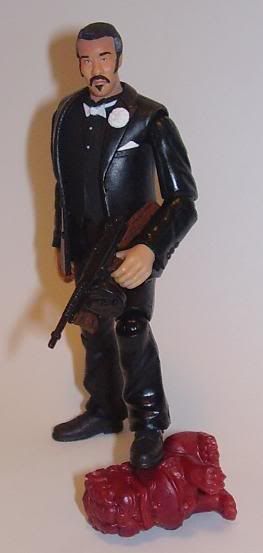
Lance Quazar said:I have the most extremely minor nitpick ever. But it seems to me that the "handle" parts of the tommy gun are also made of wood (like the stock) and should be painted brown, as well. In fact, you can tell from this pic they are also textured like wood on the gun.
Well darn it - you are right sir ! I'll make sure the rest of the woodwork is correct when I post some better pics later in the week.
Recipe as follows:
Head - 21st Century Toys Japanese Infantryman
Neck post, arms, jacket, legs - HP Sirius Black (carded version - I couldn't dye the pinstripes on the deluxe jacket and arms successfully)
Feet and hands - Random body parts from the customs bin
Tommygun - Marauder customs
Torso - Random SW Imperial Officer